Unlike the Google Chrome, Safari uses the system proxy by default and does not provide proxy API, so there is no extension like SwitchyOmega. Since I set my default browser to Safari, the tool to quickly switch proxy has become a necessary tool for me to access Google.
For macOS
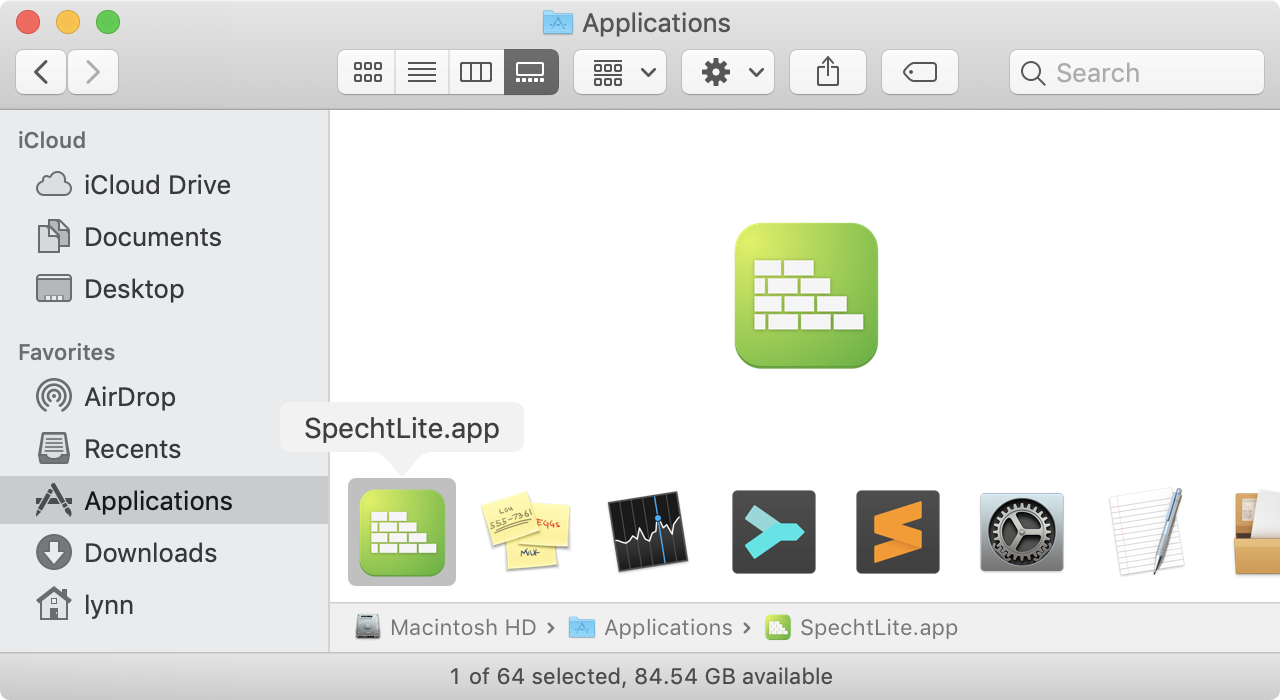
I use SpechtLite.
A rule-based proxy app for macOS.
Install SpechtLite
Just download the zip file from here, then move the unzipped application into Applications folder.
Configure Proxy Server
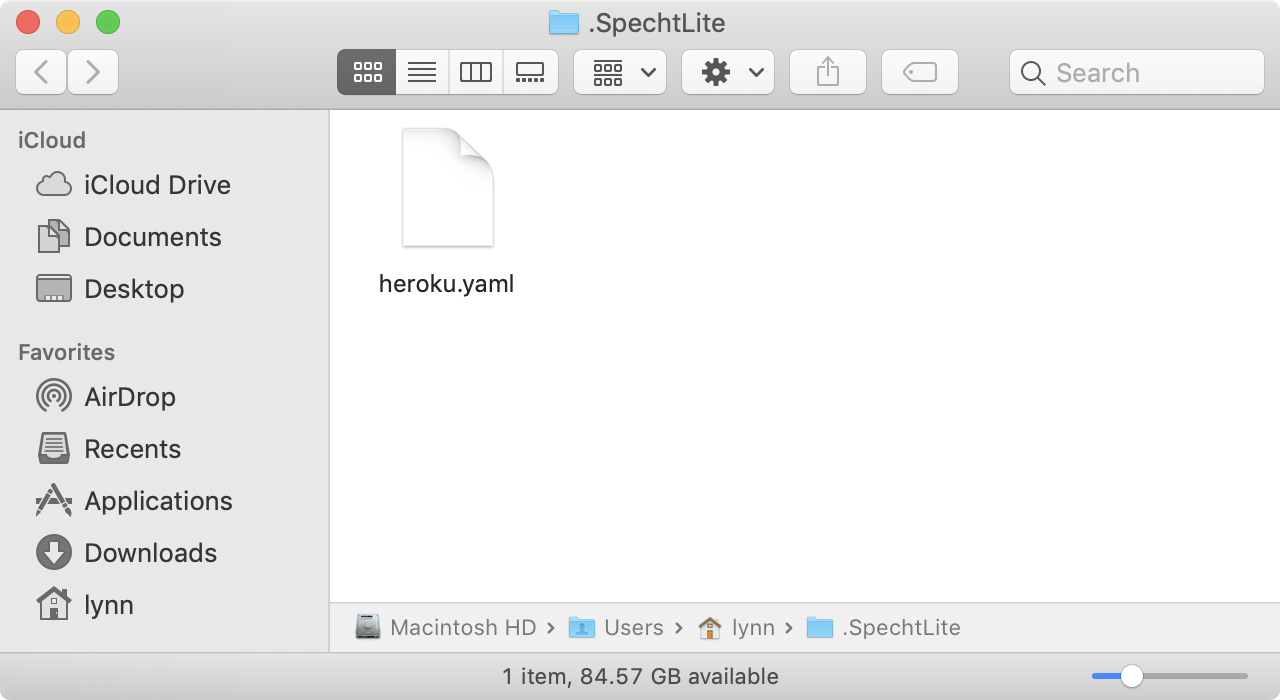
Before you start using it, you need to add a configuration file (Filename can be set freely) into the profile folder (.SpechtLite folder within the root directory), which is /Users/lynn/.SpechtLite for my Mac.
You could configure your own proxy server according to the demo configuration file. But if you follow my settings for Shadowsocks local client, you can configure it like this:
1
2
3
4
5
6
7
8
9
port: 9090
adapter:
  - id: heroku
    type: socks5
    host: 127.0.0.1
    port: 1090
rule:
  - type: all
    adapter: heroku
Up and Running
Click Reload config after launching SpechtLite. Finally, start proxy by click the name of your configuration name, and check Set as system proxy. When you want to stop the global proxy, just click Stop proxy server.
For Windows
It’s hard to find a socks global proxy open source alternative for Windows that is as easy to use as Proxifier. But if one is not, we can use two instead 😂.
If you can access google with Shadowsocks and Heroku, you already have a Socks5 proxy. The open source tool Shadowsocks for Windows has build-in global proxy options, then all we have to do is convert the Socks5 protocol to the Shadowsocks protocol.
Tools
- shadowsocks-heroku
- Connect to Shadowsocks server running in Heroku with WebSocket, and provide Socks5 proxy in local.
- glider
- Provide Shadowsocks proxy in local, and forward requests to a Socks5 proxy.
- Shadowsocks for Windows
- Connect to a local Shadowsocks proxy, and provide global proxy for Windows.
You should already have the first tool, so you only need to download the last two tools.
Convert Socks5 to Shadowsocks
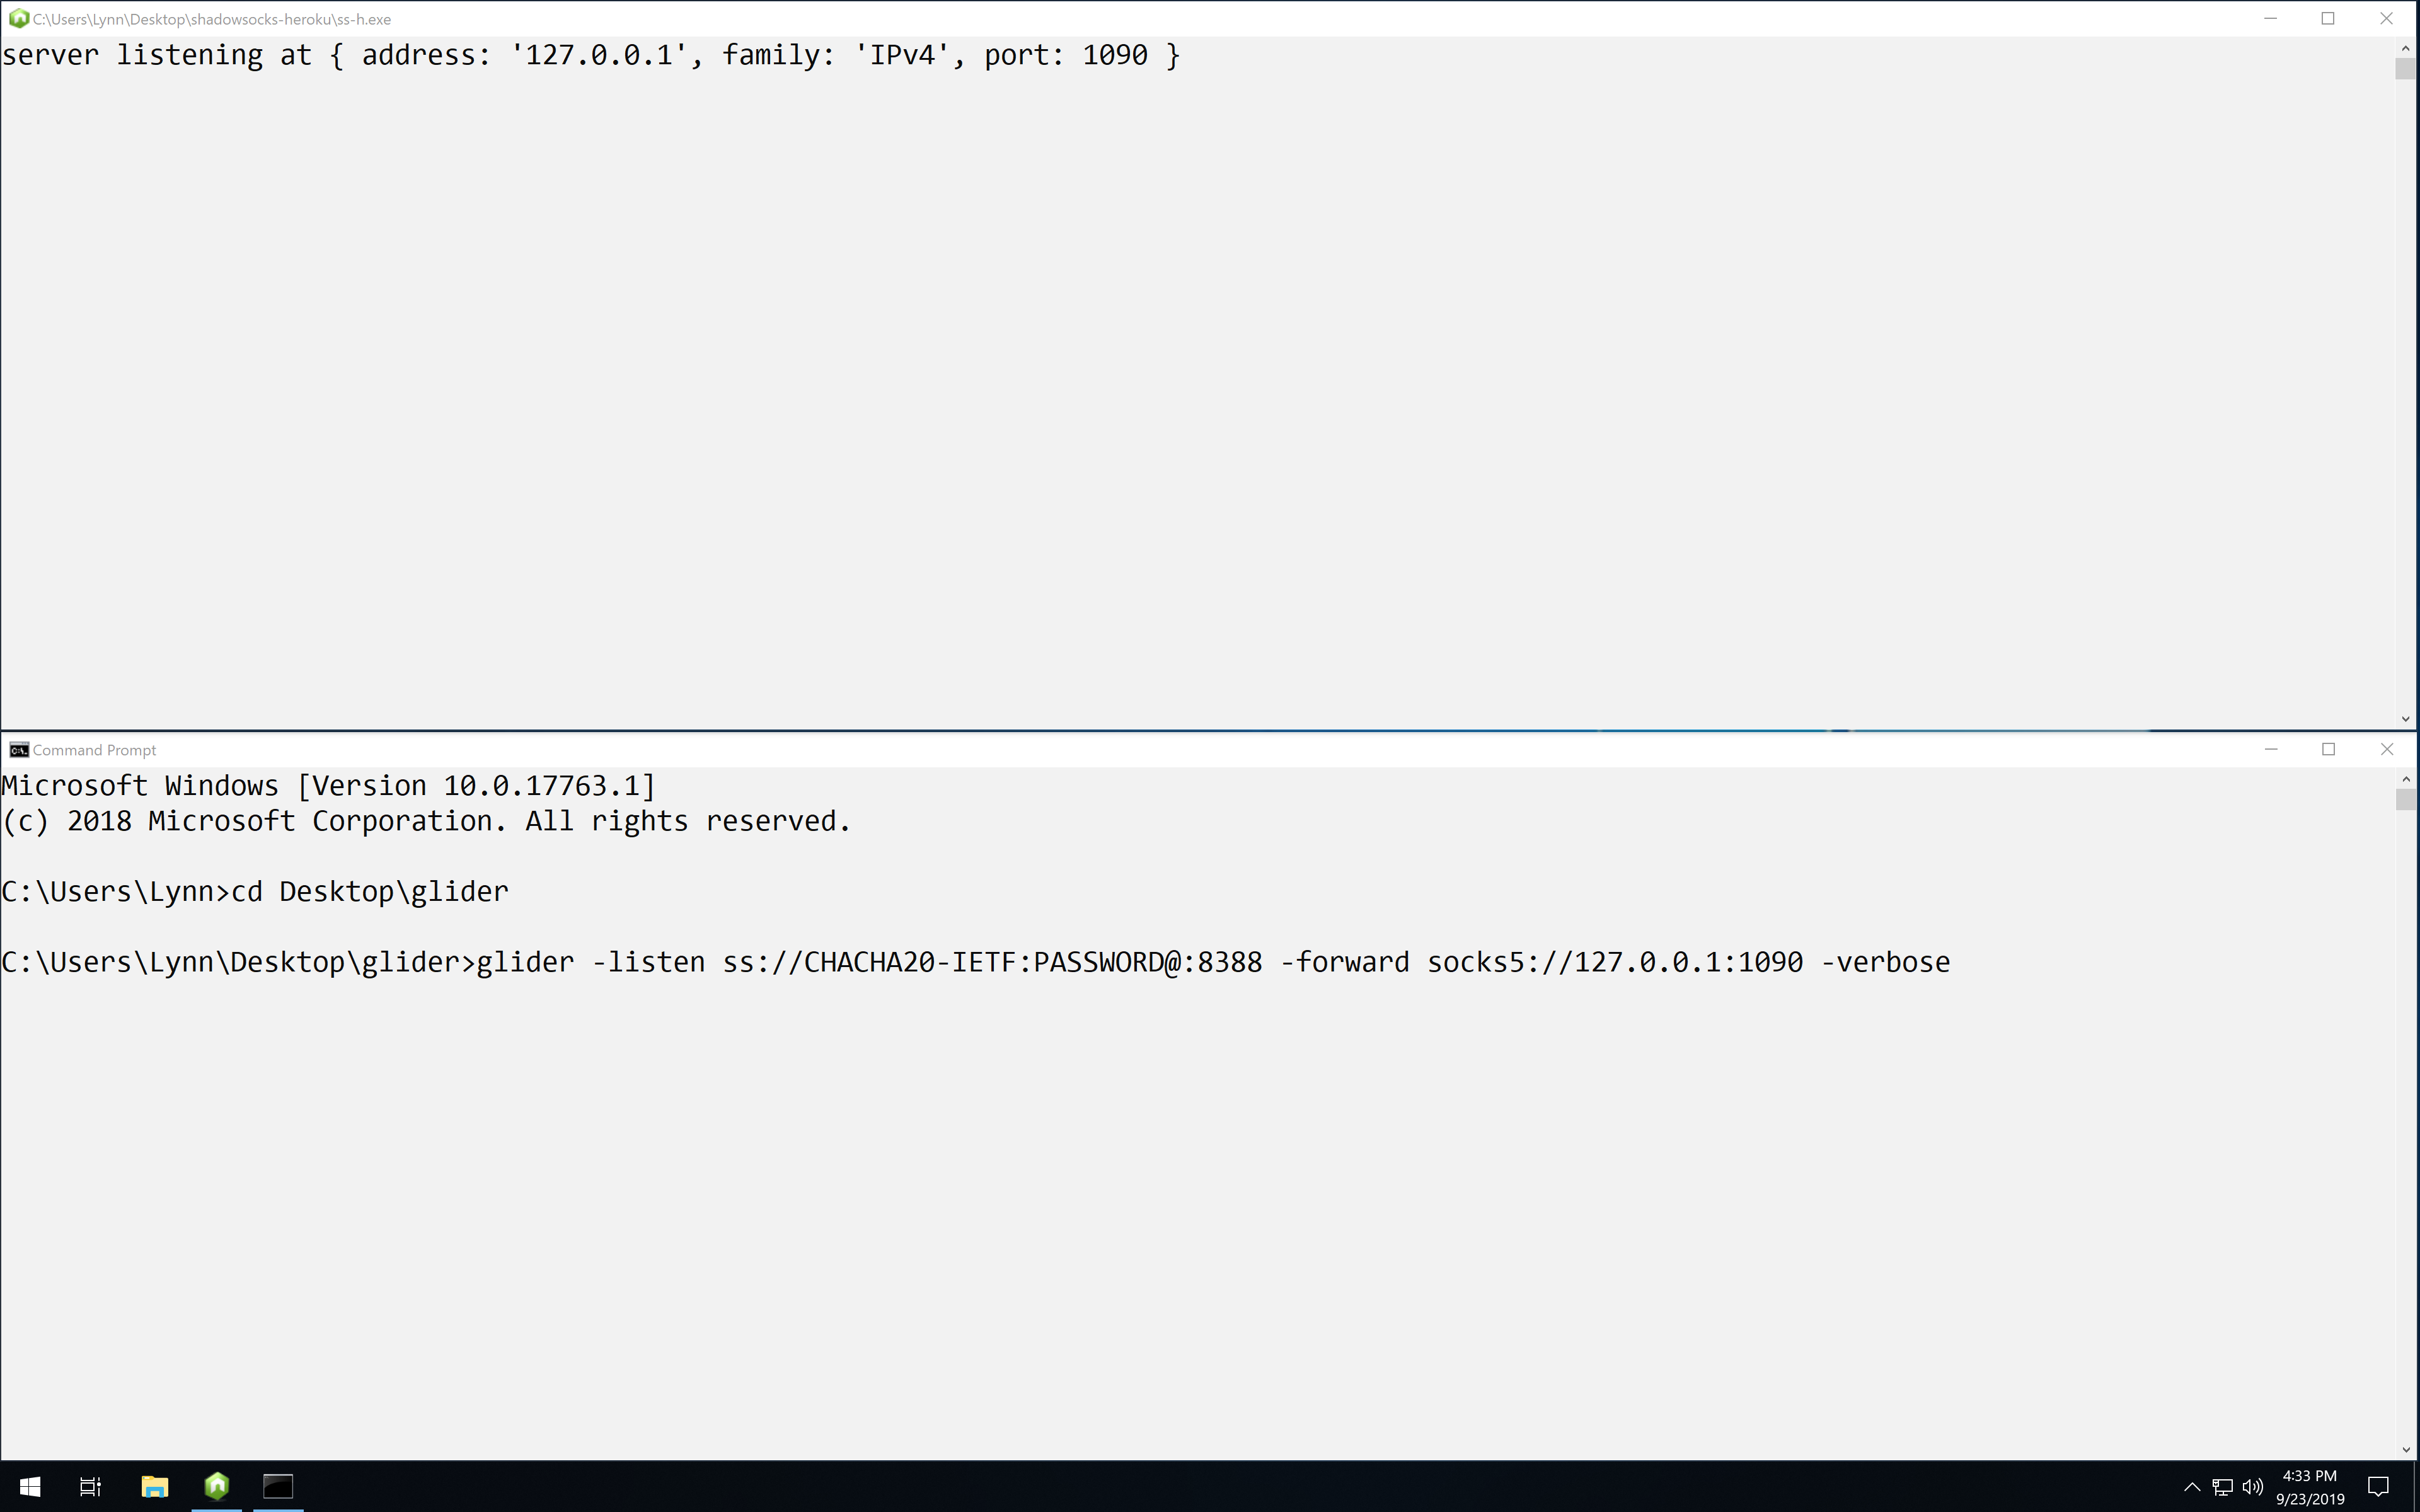
After you download glider, you can see a command line tool called glider.exe.

To launch glider, you only need to run the following command in the Command Prompt after launching shadowsocks-heroku local client
glider -listen ss://CHACHA20-IETF:PASSWORD@:8388 -forward socks5://127.0.0.1:1090 -verbose
But you can also create a batch file (named as start.bat) next to the glider.exe, just run that file when you want to launch glider, without having to manually enter the command each time.
1
2
3
4
5
@ECHO OFF
CLS
COLOR 0A

glider -listen ss://CHACHA20-IETF:PASSWORD@:8388 -forward socks5://127.0.0.1:1090 -verbose
Configure Shadowsocks for Windows
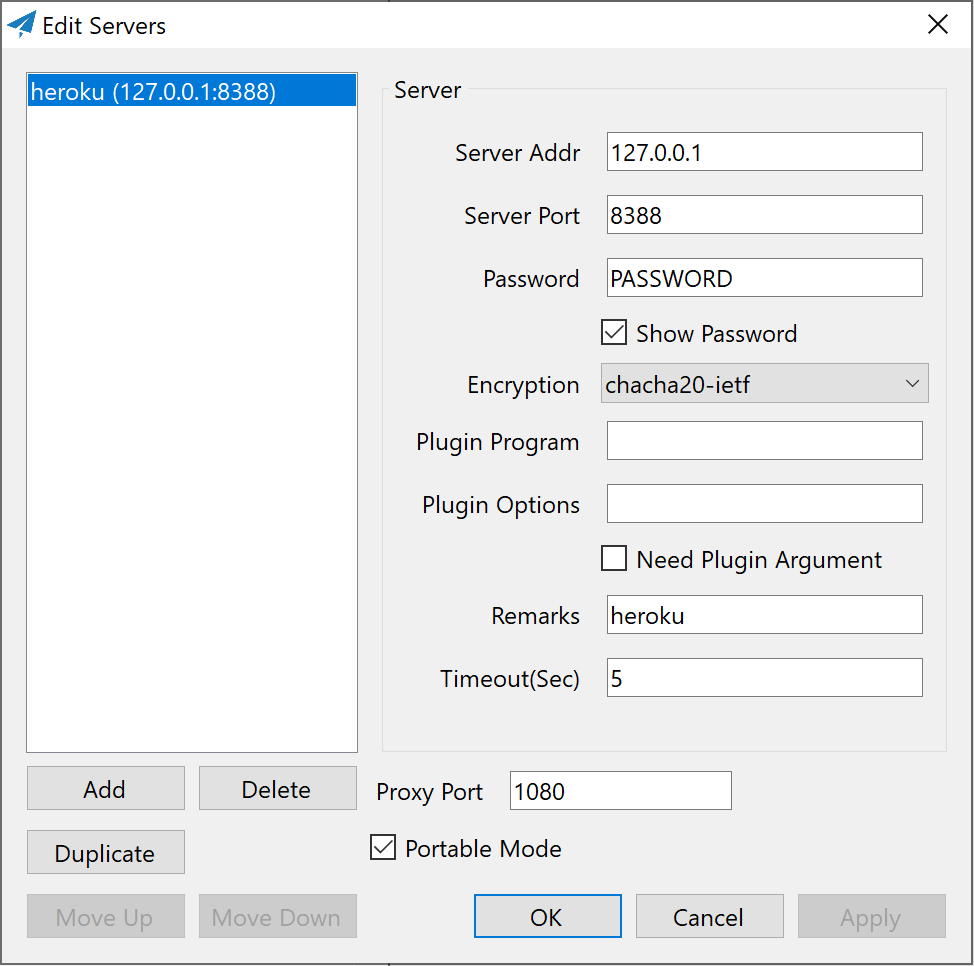
The last thing before you start the global proxy is to add the Shadowsocks proxy server provided by glider to Shadowsocks for Windows. You need to right click on the icon after launching Shadowsocks for Windows, then click Servers -> Edit Servers...
Set Global Proxy
It’s time to enable global proxy for Windows, you just need to click System Proxy -> Global in Shadowsocks for Windows (If the global proxy does not work, check your firewall settings). If you want to disable the global proxy, just click System Proxy -> Disable.