Google services are blocked in China which is very inconvenient for researchers. In this post, I will introduce two methods that I used to access Google.
Access Google with IPv6 and Hosts
This method seems not longer working, but you can still use the second method.
The CERNET in school provides the IPv6 service, which can be used to access most of Google products without any proxy or VPN. In this way, you just need to redirect the HTTP/HTTPS requests to the IPv6 address of the original website with a hosts file. Follow is what I do to access Google.
Update Hosts File
The hosts file is used to redirect website access with an IP address. The file location is different between different operating systems. You can copy and paste new hosts file to replace it directly, but I recommend using an application to manage it, like SwitchHosts which provides a user-friendly GUI. Based on your computer’s operating system, you can download a binary release here.
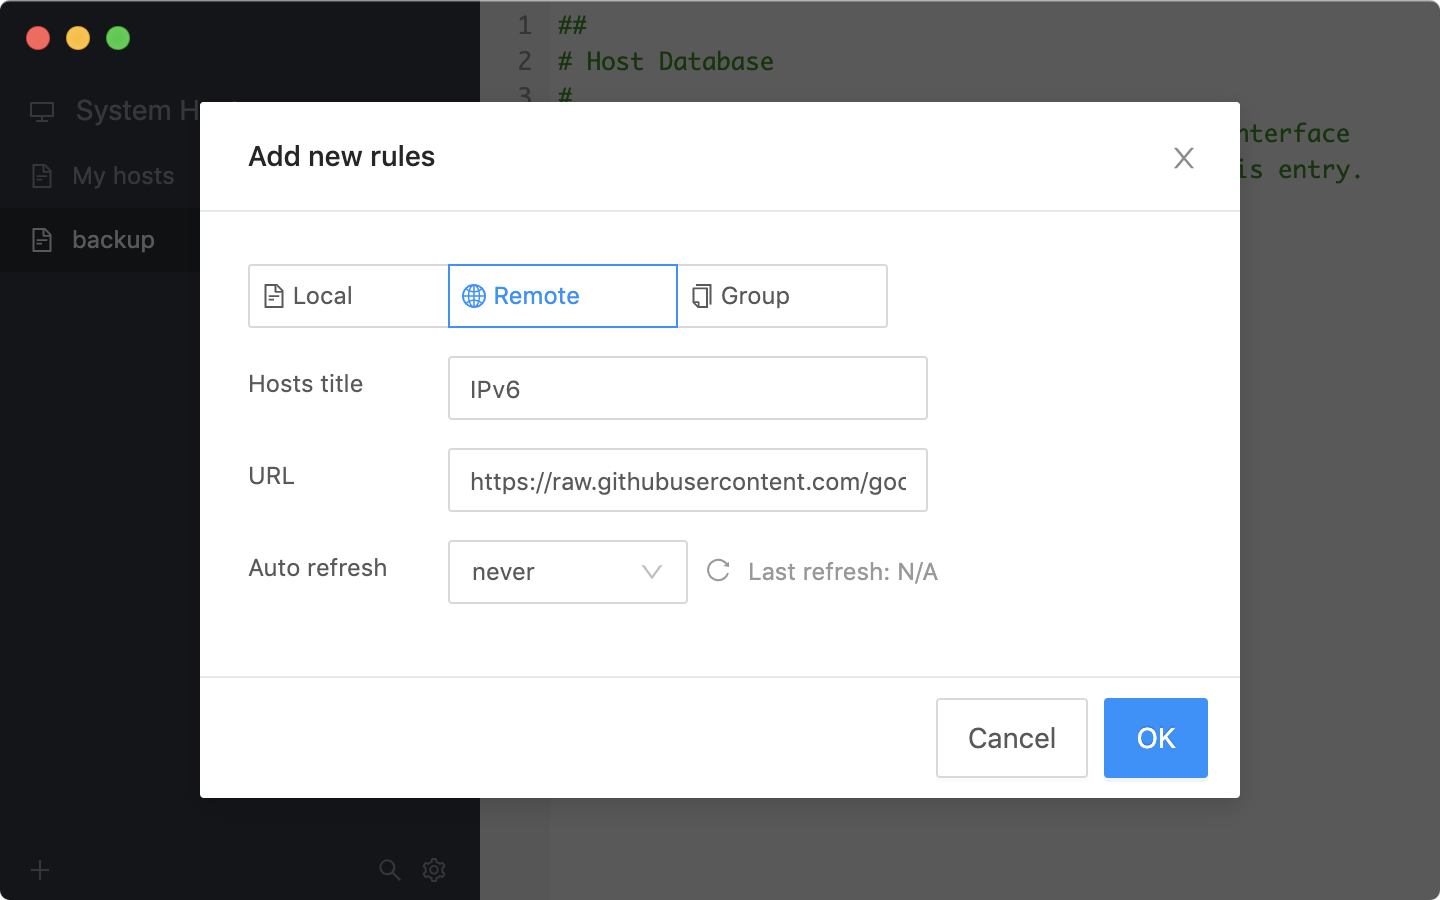
After installing the application, you need a new hosts file to update the original one. I use hosts-ipv6 where the hosts file is here, but what you need to do is copy the URL of the raw file (https://raw.githubusercontent.com/googlehosts/hosts-ipv6/master/hosts-files/hosts) and apply it as a remote hosts, then enable it.
Connect to IPv6 Network
As I’m studying in HUST where the network in the lab and dormitory all provide IPv6, it’s quite simple to do, just connect to the network and check if computer’s network adapter get an IPv6 address in network settings, or visit test-ipv6 to see if IPv6 is accessible.

Visit Google
After following the above steps, you should be able to access Google now. Next time, just connect to the IPv6 network and you are ready to go.
Access Google with Shadowsocks and Heroku
The method that I introduced above is quite easy and fast, but it requests IPv6 network access which is inaccessible for me when I am out of school. So I will introduce a more general method to create a private proxy server with shadowsocks-heroku here. Actually, you can find an instruction in the project’s repository, but you can also follow the steps showed below.
Deploy Shadowsocks Server
- Create a free Heroku account here if you don’t have one.
-
Deploy server here, an example is set as below:
- App name:
lynn-example- any valid name is ok
- Choose a region:
United StatesEuropeis also fine, you can deploy multiple servers with different region then compare the speed
- KEY:
PASSWORD- set your own private password to access server
- METHOD:
aes-256-cfb- the default algorithm is ok, and more supported ciphers can be checked here
- App name:
Configure Local Client
- Download the local client here based on your computer’s operating system.
-
Configure
config.jsonbased on your server’s settings, below is an example:1 2 3 4 5 6 7 8 9 10
{ "server": "lynn-example.herokuapp.com", "local_address": "127.0.0.1", "scheme": "ws", "local_port": "1090", "remote_port": "80", "password": "PASSWORD", "timeout": 600, "method": "aes-256-cfb" }
Launch Local Client
After finishing the above steps, you need to launch the local client when you want to access Google. I always keep it running in the background after I launch it, because it’s pretty small and doesn’t consume too many resources.
Configure Proxy
It’s time to configure proxy for the applications. As you can see in config.json, the proxy configuration is pretty clear which should be configured in other applications as below:
- Protocol:
SOCKS5 - IP:
127.0.0.1- same as
local_addressin config.json
- same as
- Port:
1090- same as
local_portin config.json
- same as
Most time, I only need proxy for Google Chrome, and I recommend SwitchyOmega to manage the proxy.
If the application does not provide proxy settings, you may need to set up a global proxy.