Sublime Text might be the first and most used code editor during my undergraduate stage. I have also tried Atom when they released the stable version, but I finally gave up after a short trial because it was too slow, especially after installing a lot of packages. After the official release of Visual Studio Code, I immediately chose it, it has good performance, easy-to-use extensions, and most importantly, it integrates with Git.
Visual Studio Code has been working very well all the time, but a week ago, I found that it always caused my computer to be hot, even if I didn’t do anything, maybe because it was based on Electron (which uses Chromium, that’s also why I started to set Safari as my default browser instead of Chrome). Then I started to miss Sublime Text. After I opened its website, I found that it also started to integrate Git 👍, which is exactly what I want.
Precondition
After you install Sublime Text 3, you should probably also install Package Control, which makes it easier to manage other packages.
In the latest version of Sublime Text 3, you only need to click Tools -> Install Package Control menu item.
For Markdown
Sublime Text 3 has provided good syntax highlighting for Markdown, but we also need some packages and update the settings to make it more suitable for writing Markdown.
Automatic Completion
I have introduced the syntax of Markdown, which is pretty simple, so in fact, you can use the built-in automatic completion function directly. But if you want more advanced features, you can try MarkdownEditing, I have tried it, but I don’t like it.
Markdown Linting
I am used to checking my Markdown file with markdownlint. After you install it, you need an easy way to use it in Sublime Text instead of calling it from the terminal each time.
Configure Markdownlint
According to Mdl configuration, Creating styles, and Rules, we need to create ~/.mdlrc and a style file (like ~/.mdl-rules.rb).
My settings for ~/.mdlrc:
1
2
3
show_kramdown_warnings true
ignore_front_matter true
style "/Users/lynn/.mdl-rules.rb"
We need to set an absolute directory for style, which is /Users/lynn/.mdl-rules.rb for ~/.mdl-rules.rb in my computer, but you should set it based on the path in your computer.
My settings for ~/.mdl-rules.rb:
1
2
3
4
5
6
7
8
9
10
11
all

rule 'MD003', :style => :atx
rule 'MD004', :style => :dash
rule 'MD007', :indent=> 4
rule 'MD029', :style => :one

exclude_rule 'MD002'
exclude_rule 'MD013'
exclude_rule 'MD041'
exclude_rule 'MD046'
According to your Markdown writing style and rules, you can set different lint rules.
Configure Sublime Text
Sublime Text provides build systems to allow users to run external programs. Examples of common uses for build systems include: compiling, transpiling, linting, and executing tests.
We can create a new build system with Tools -> Build System -> New Build System... menu.
My setting for Markdown Lint.sublime-build (You could change the file name):
1
2
3
4
5
6
{
    "cmd": ["mdl", "$file"],
    "selector": "text.html.markdown",
    "file_regex": "([ \\w-]+\\.md):(\\d+): ([^\\n]+)",
    "quiet": "true"
}
After you set the build system, click Tools -> Build in the Markdown file you opened to check the Markdown format according to the rules you set.
Markdown Preview
We need two packages for the feature:
After you install them, you need to enable LiveReload, just search LiveReload: Enable/disable plug-ins in Tools -> Command Palette..., and choose one plug-in that you like, my choose is Simple Reload with delay(400ms).
You can also configure the settings of Markdown Preview in Sublime Text -> Preferences -> Package Settings -> Markdown Preview -> Settings, mine is:
1
2
3
4
{
    "enabled_parsers": ["github"],
    "github_mode": "gfm"
}
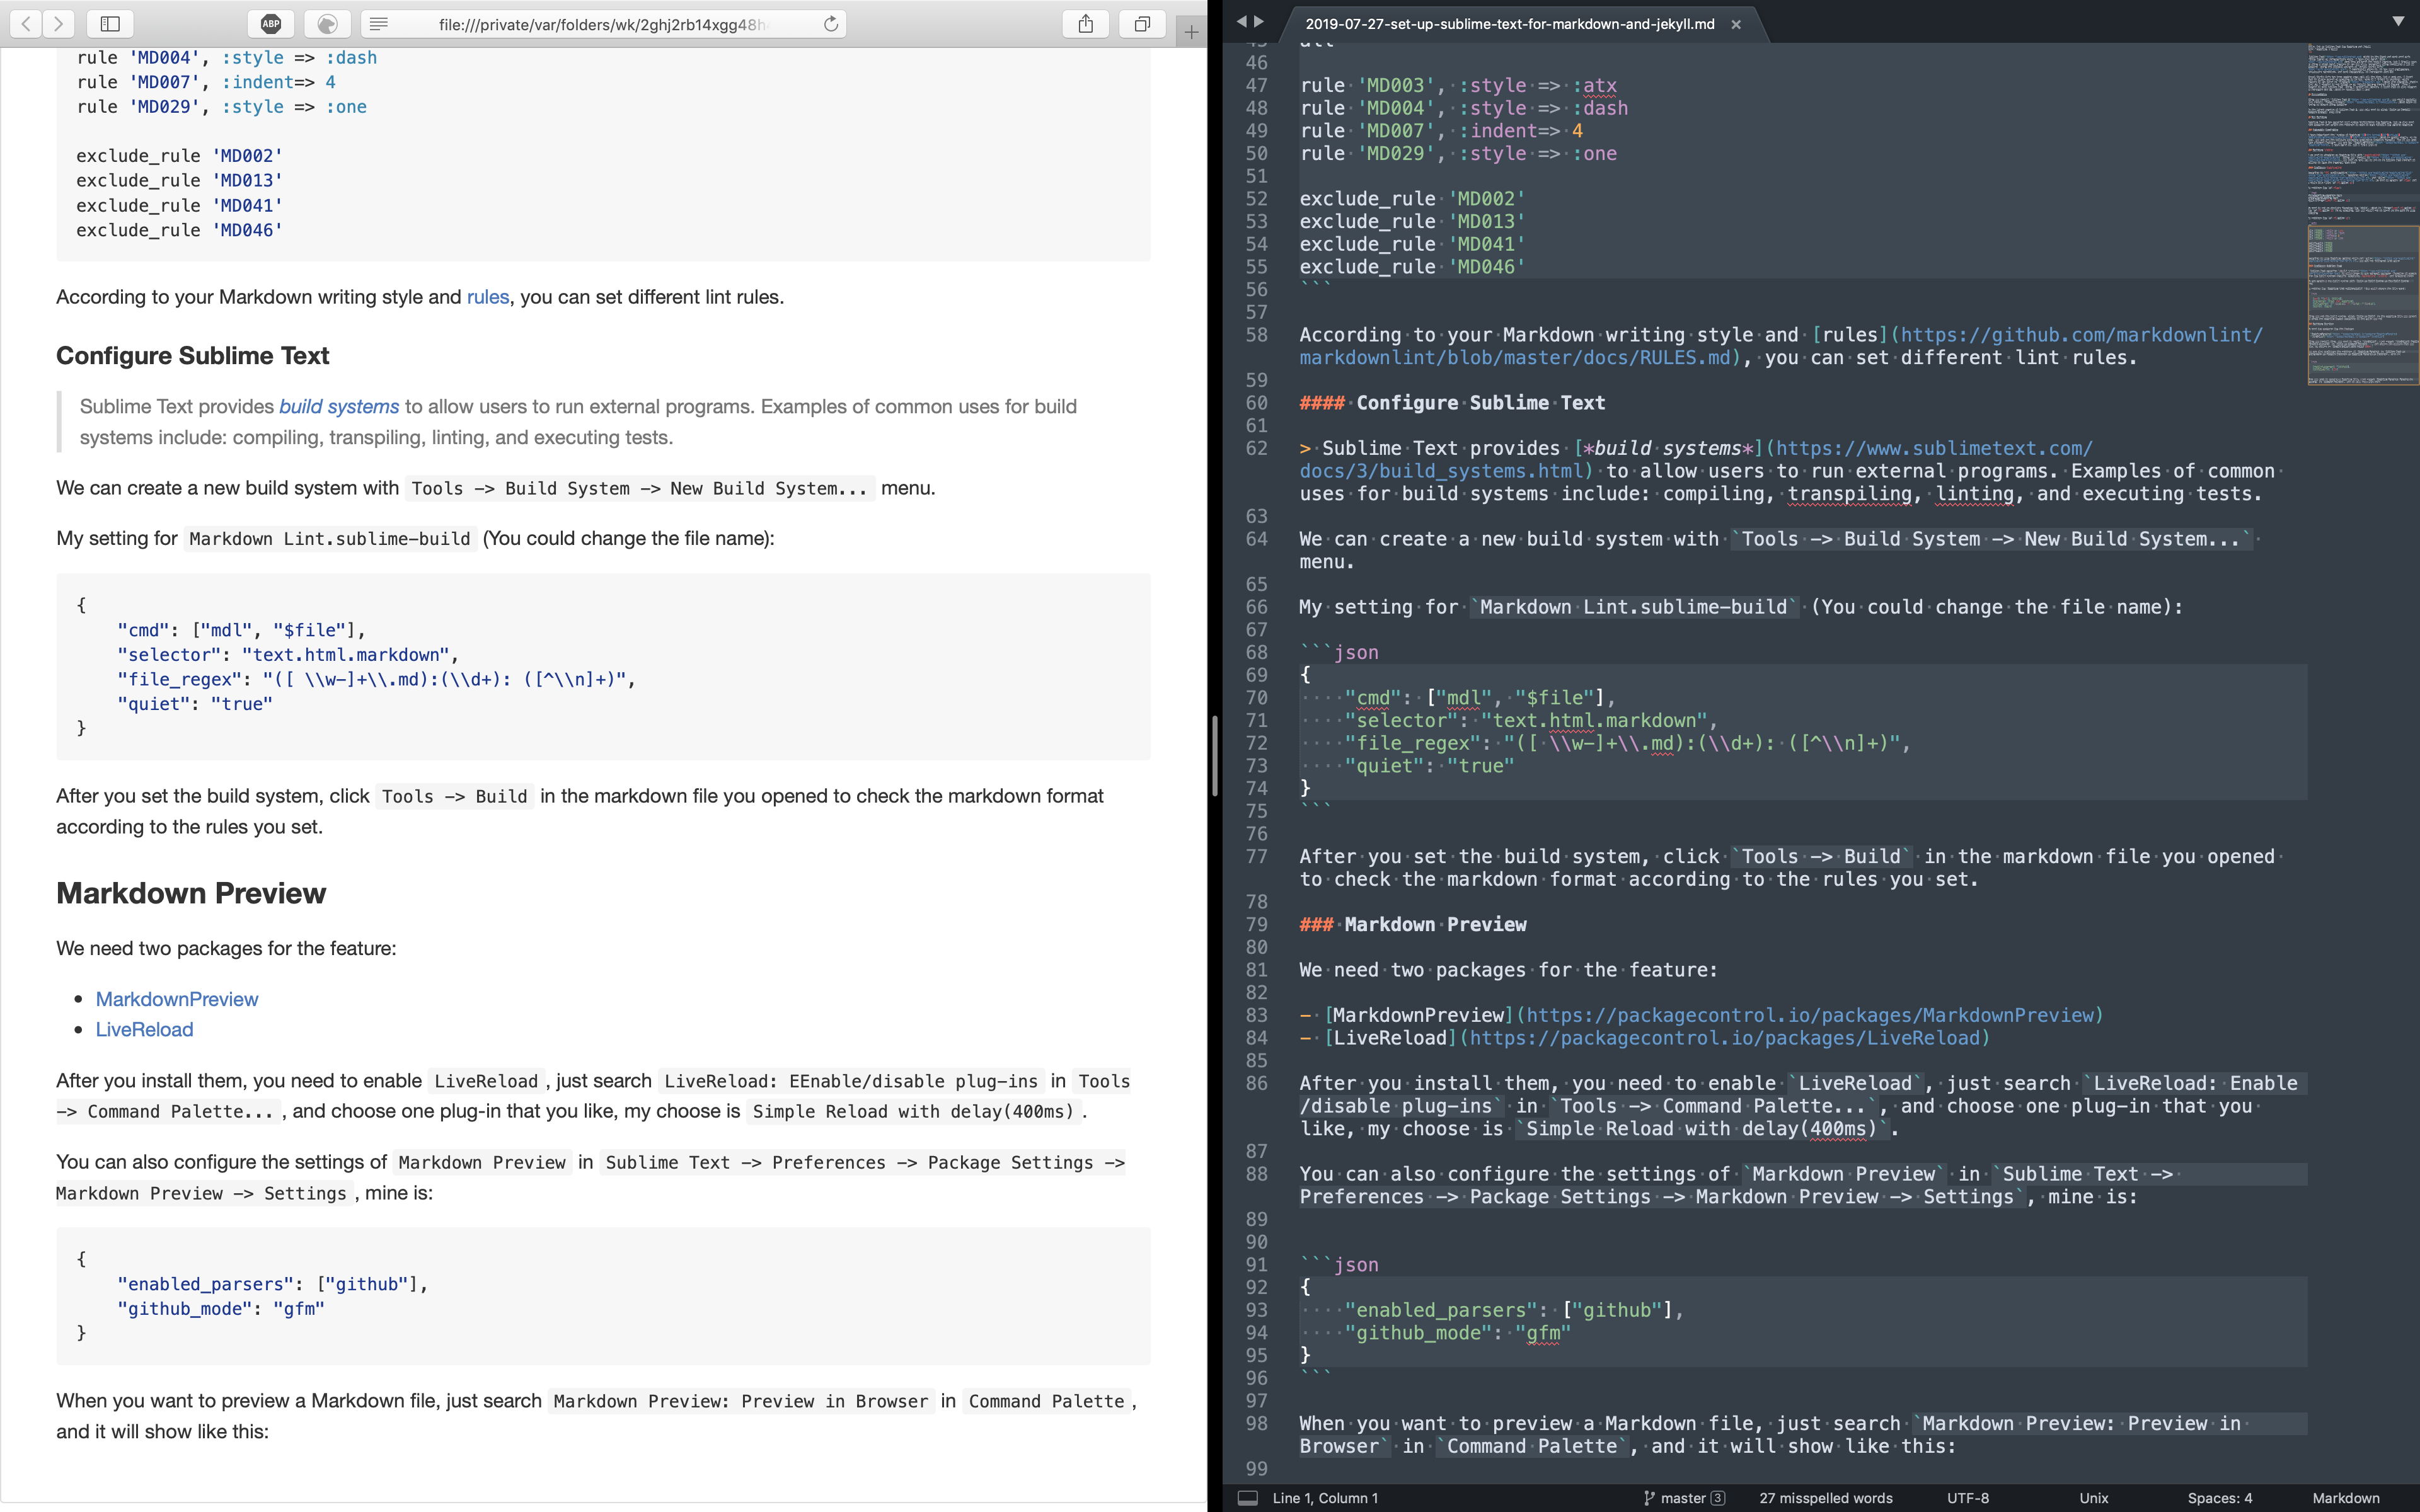
When you want to preview a Markdown file, just search Markdown Preview: Preview in Browser in Command Palette, and it will show like this:

For Jekyll
I write Markdown for my blog, which is powered by Jekyll and light-blog. Since I always need to create posts, insert references and image resources, I need to enter the date and some specific code in Markdown. Fortunately, Sublime Text and the community provide the corresponding features and package to meet my requirements.
Snippets
I said earlier that syntax of Markdown is simple, but it’s boring to type links and multimedia elements. So I create several snippets in Tools -> Developer -> New Snippet..., that let me type in a few keywords and press the tab key to type the duplicates for me.
For example, I create Markdown Anchor Link.sublime-snippet to help me type the image element:
1
2
3
4
5
6
7
8
9
<snippet>
<content><
]]></content>
<!-- Optional: Set a tabTrigger to define how to trigger the snippet -->
<tabTrigger>image</tabTrigger>
<!-- Optional: Set a scope to limit where the snippet will trigger -->
<scope>text.html.markdown</scope>
</snippet>
After I add it, I can insert an image like this:

Jekyll
This package helps me to create a post and insert images. Like other packages, all I need to do is install it and configure its settings in Sublime Text -> Preferences -> Package Settings -> Jekyll -> Settings - User, then call the functions it provides via Command Palette.
My settings for it is:
1
2
3
4
5
6
7
8
9
10
11
12
13
14
15
{
    "jekyll_posts_path": "/Users/lynn/Documents/Writing/Blog/lynn9388.github.io/_posts",
    "jekyll_drafts_path": "/Users/lynn/Documents/Writing/Blog/lynn9388.github.io/_drafts",
    "jekyll_templates_path": "/Users/lynn/Documents/Writing/Blog/lynn9388.github.io/_templates",
    "jekyll_auto_find_paths": false,
    "jekyll_uploads_path": "/Users/lynn/Documents/Writing/Blog/lynn9388.github.io/assets",
    "jekyll_uploads_baseurl": "",
    "jekyll_default_markup": "Markdown",
    "jekyll_markdown_extension": "md",
    "jekyll_send_to_trash": true,
    "jekyll_date_format": "%Y-%m-%d",
    "jekyll_datetime_format": "%Y-%m-%d %H:%M:%S",
    "jekyll_debug": false,
    "jekyll_utility_disable": false
}
Through all the settings above, I finally got a satisfactory writing editor for my blog 🎉.